
Modified Cosplay Helmet for a Celty Sturluson of Durarara!
What you’ll need:
- Helmet to use as a base OR make your own!
- Painters Tape
- Lightweight cardboard/tagboard
- Gesso
- Sand-paper
- Paper Clay or air-drying clay
- Woodglue
- Yellow and Blue Paint
- Clear Enamel spraypaint
Steps 1-3: Prep-work
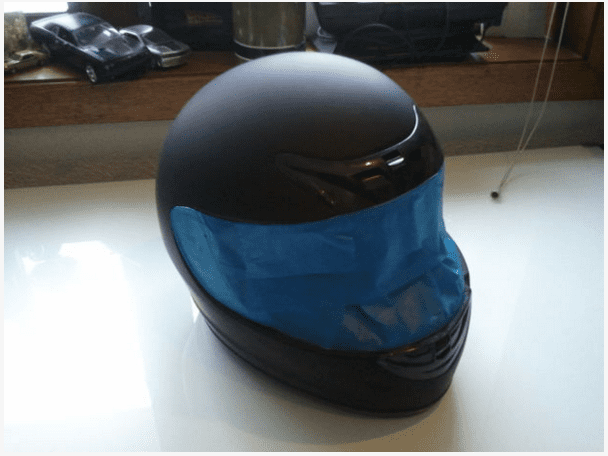
- Get a Helmet
- Take off the visor and tape off stuff you don’t want to mess up
- Make sure the helmet is clean and dry before beginning
Step 4-5: Form the ears
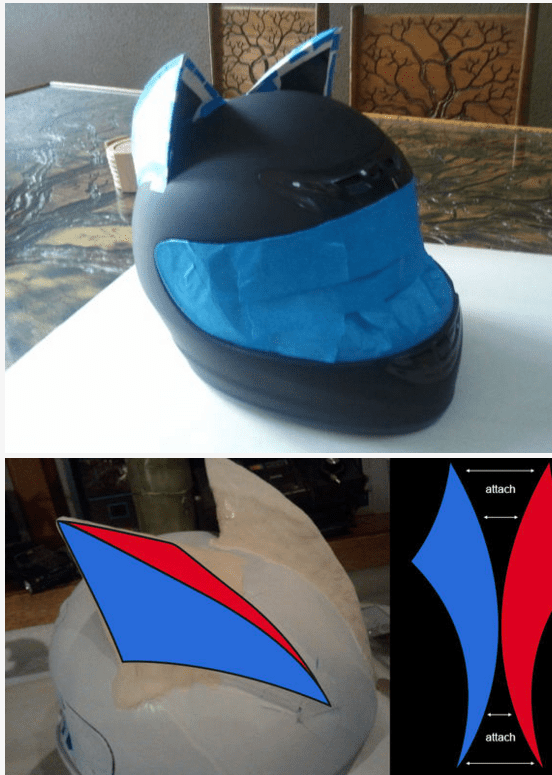
4. Using tag-board and painters tape; form the ears and tape them to the helmet.
5. To get them the same size, make a pattern out of regular paper first.
Steps 6-9: Prep your helmet
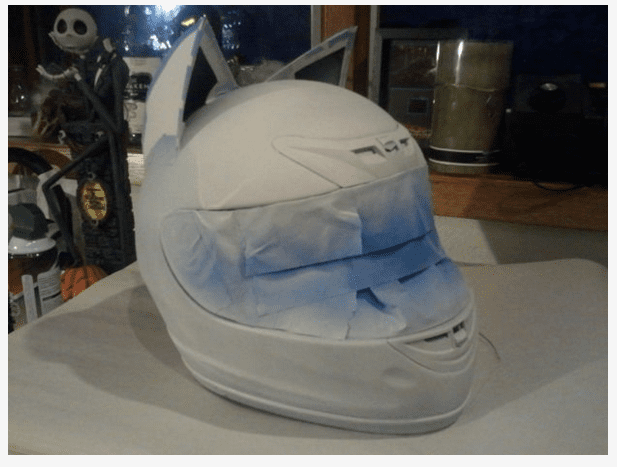
6. If your helmet is shiny, sand all of it off.
7. Use Gesso to to prime the helmet and give us a nice base to work the paper clay on
8. Wait for it to dry, and then prime again. Sand again for a smooth surface
9. Dust and clean it off.
Steps 10-13: Sculpt up the ears
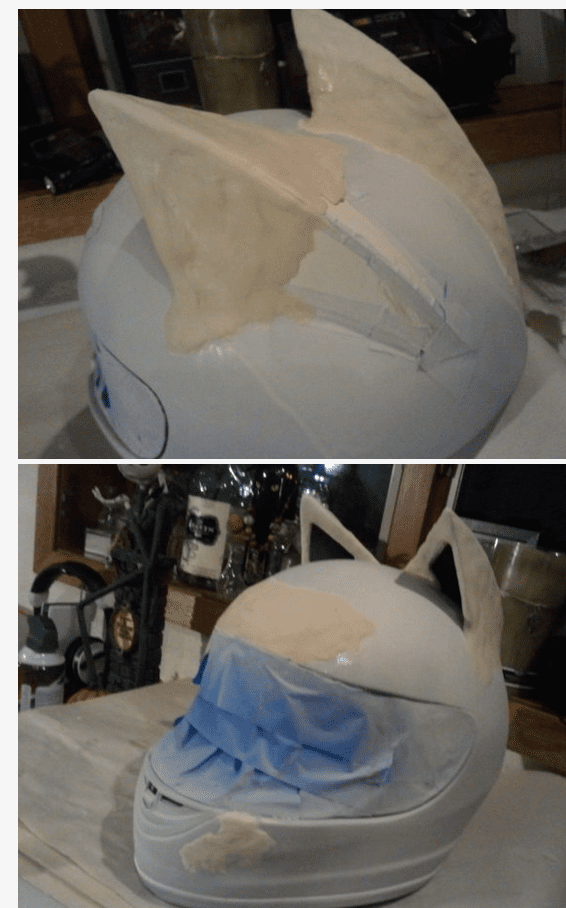
10. Use paper clay or an air-drying clay to build up the ears.
11. Make sure to sculpt from the ears onto the helmet for added strength.
12. Get everything as smooth as possible and allow to fully dry
13. You can also use the paper clay to hide any imperfections in the helmet base that don’t match the cosplay.
Steps 14-17: Prep for paint
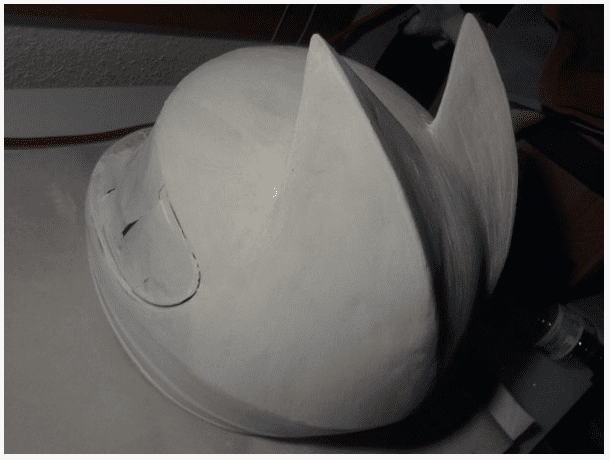
14. Once dry, sand everything smooth.
15. If you’re having difficulties getting everything smooth at this stage, try using Wood Filler.
16. Once sanded smooth and dusted– apply a coat of wood-glue to the entire helmet. This will help for added smoothness and strength
17. (Optional) to add another layer of woodglue after that coat has dried!
Steps 18-22: Base coat
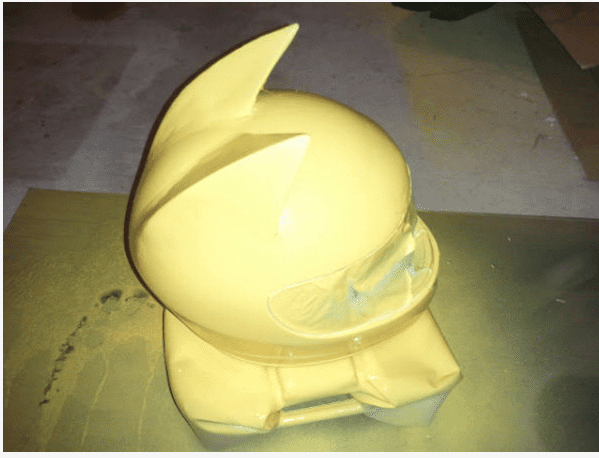
18. Paint your helmet yellow in light even passes
19. Wait to dry 🙁
20. Sand with a less abrasive sandpaper in delicate circles
21. Dust off and evenly coat with another layer of yellow
22.. Wait to dry (If it looks nice, move onto step 7- if not, continue spraying, drying, sanding until you’re satisfied.)
Steps 23-25: Blue Details
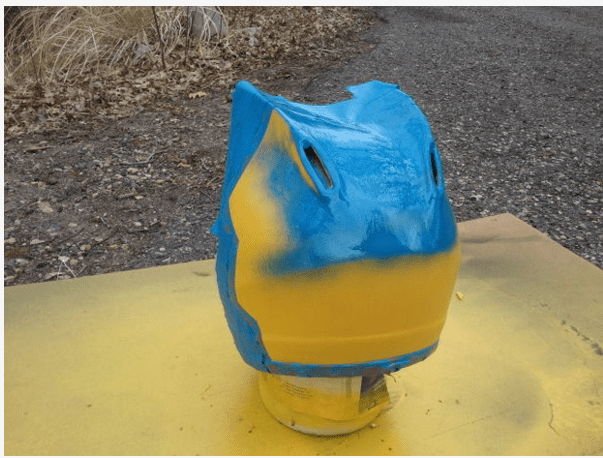
23. Use your painters tape to mark off the places that you want to protect from the blue paint
24. Spray on your blue in nice even passes
25. (I personally didn’t need to apply another coat; but if yours looks lame then keep painting it and make it look GOOD!
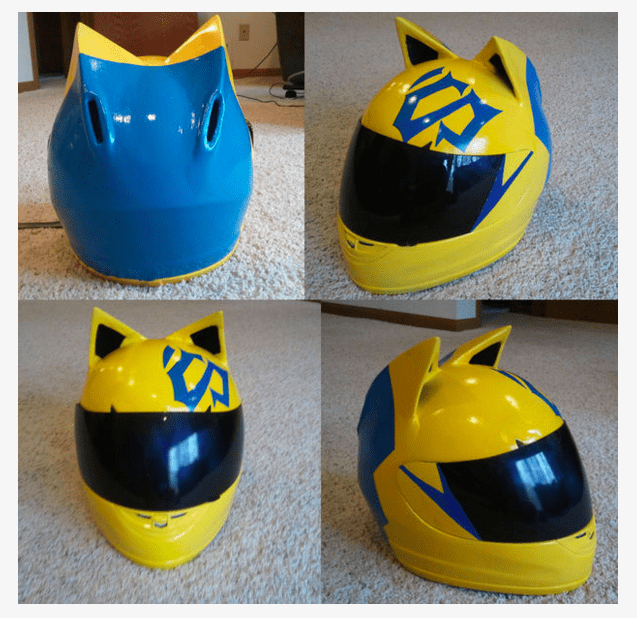
Step 26: Draw on designs
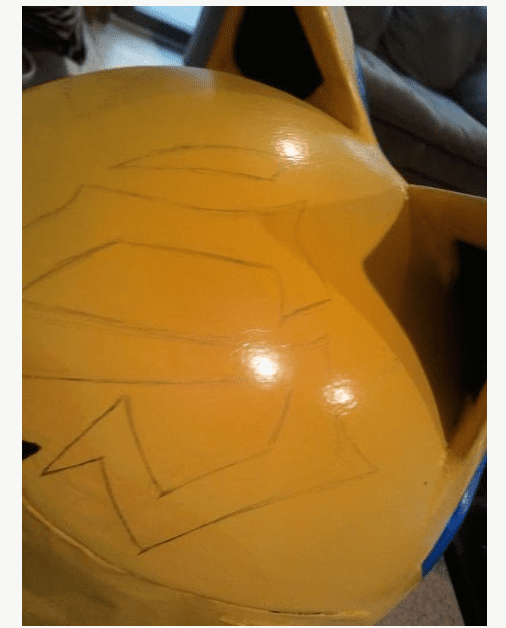
I hand painted on this front design but if you want to– you could tape off this design or create a stencil. I personally just found it easier to match the blue color from the back and hand-paint this on!
26. I also sprayed the sides of the visor and then hand-painted the “V” design.
Step 27-28: Seal the Deal
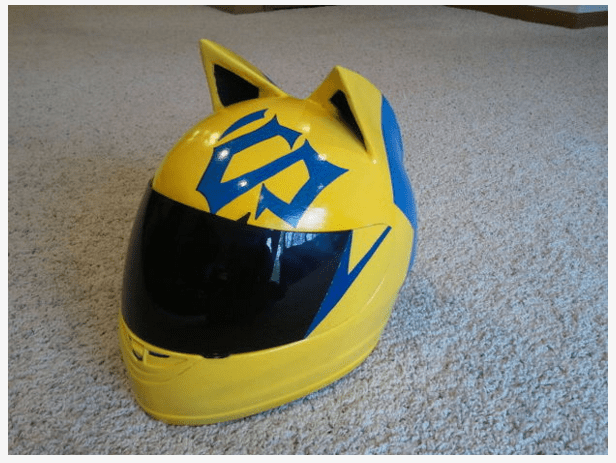
27. Use coats of crystal clear enamel to protect your paint job!
28. Slap that visor back on and YOU’RE DONE! 🙂
This step by step walkthrough of how to make your own Cat Ear Helmet look like Celty Sturluson was provided by Kikicraft. Find her on Facebook and at www.kikicraft.com/
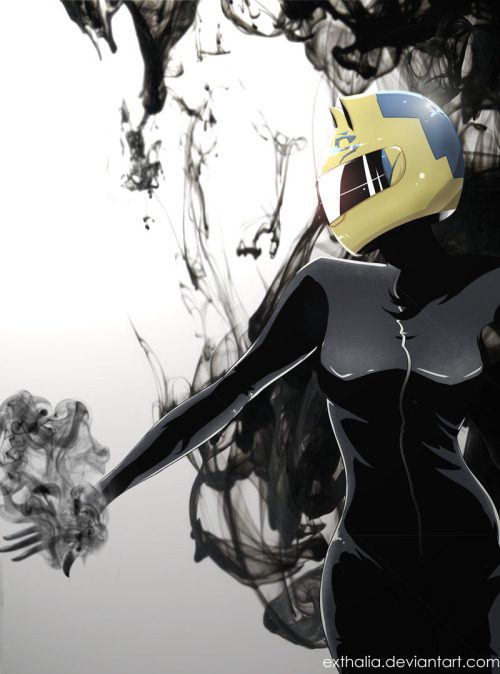 http://exthalia.deviantart.com/