It’s the start of another new riding season, and if you’re pulling your bike out of winter storage for that first glorious ride of the year, you’ll want to make sure it looks good. Unfortunately, several months sitting in a garage (or outside with nothing but a cover for protection) can result in your bike getting dusty, rusty, or worse. And that’s to say nothing of the scratches and other blemishes you may have earned last season without noticing.
All of which is to say: don’t be surprised if your bike looks a little rougher around the edges than you remembered when you first lay eyes on it again this year. Fortunately, cleaning your motorcycle and touching it up is a fairly quick and easy process—as long as you know what to do and what tools to use. Below, we’ll give you plenty of tips on both.
How to Clean Your Motorcycle
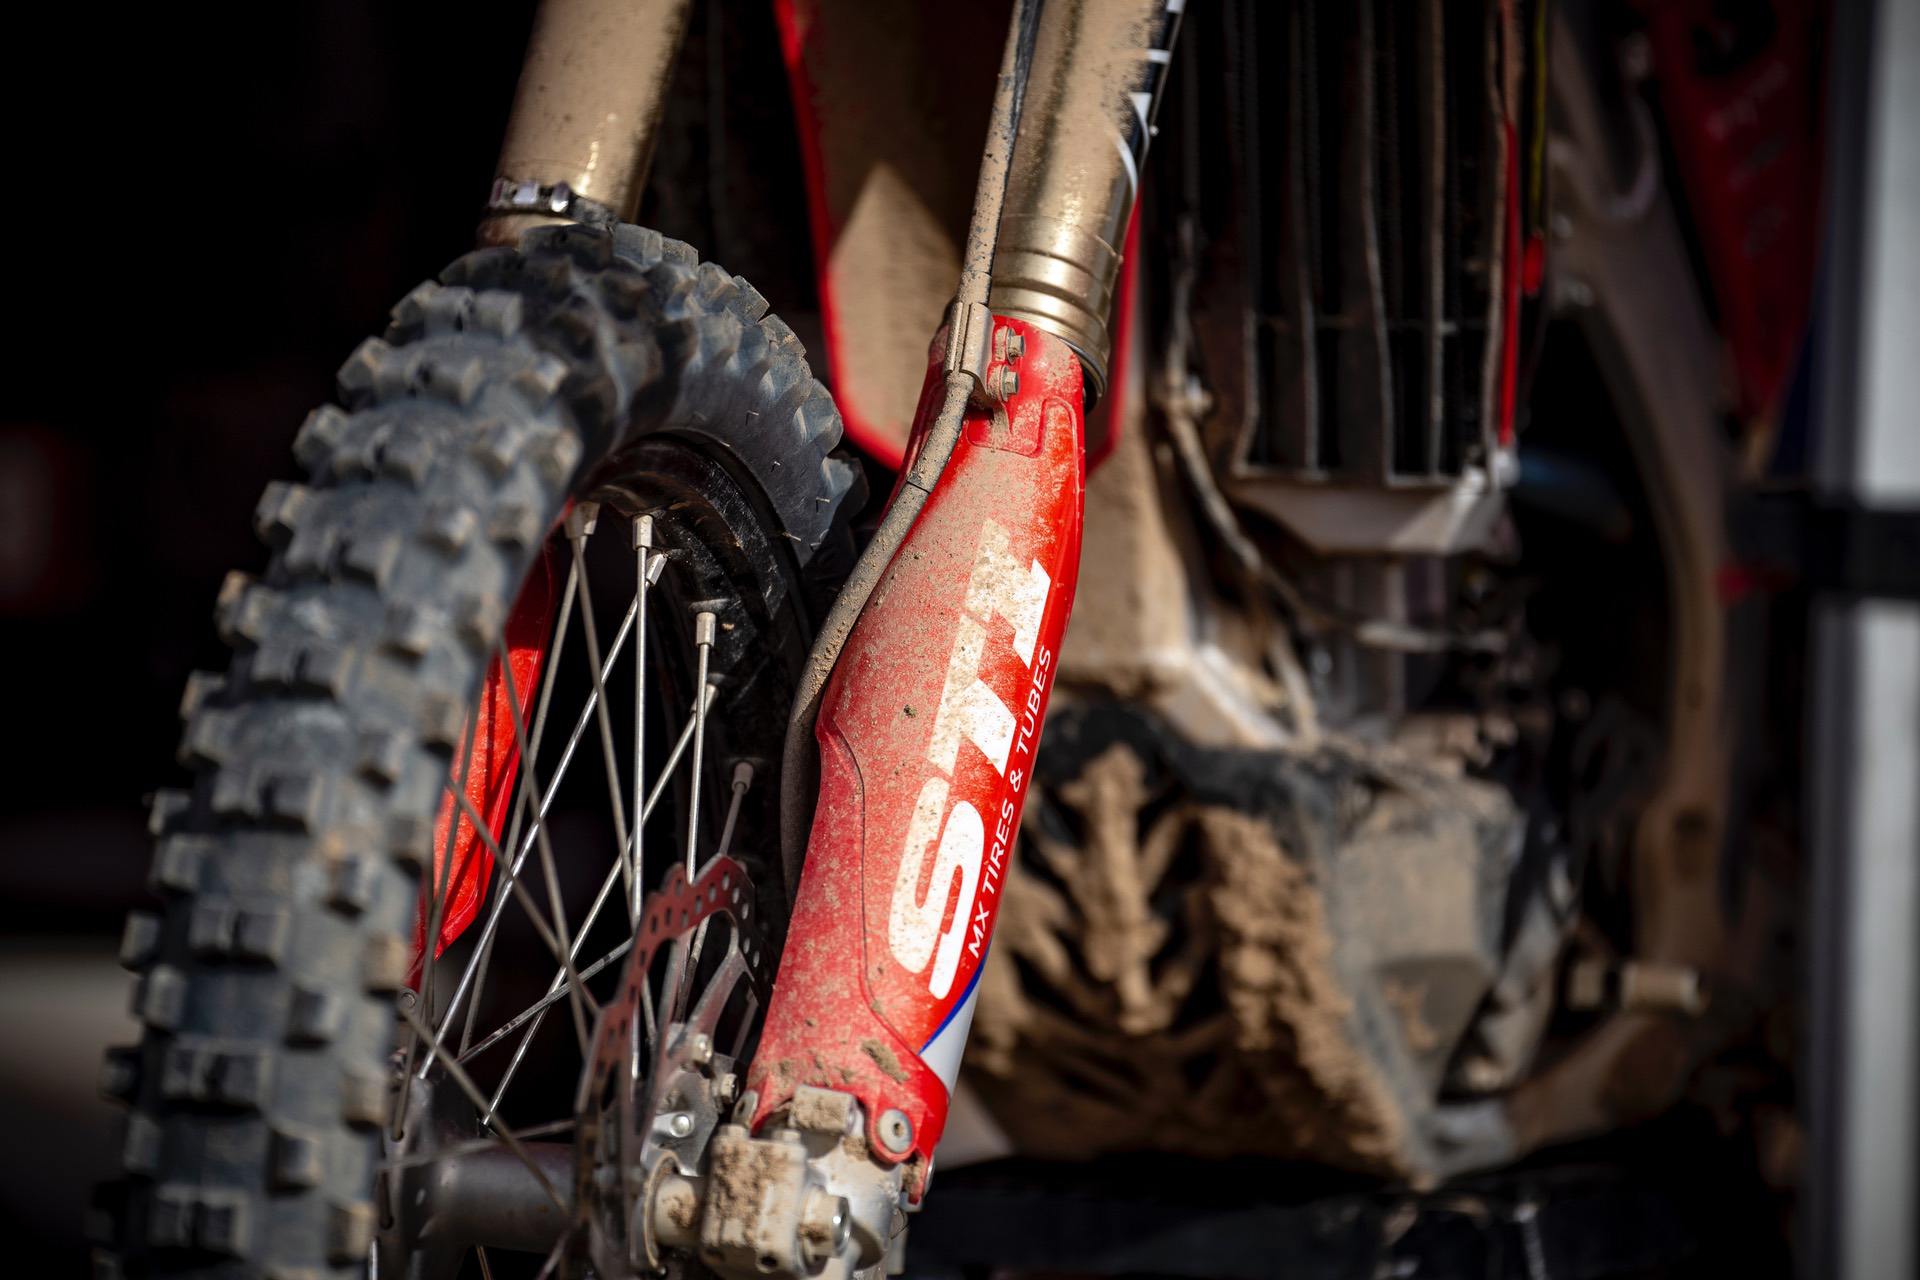
Cleaning your bike after it’s been in storage for a while is an absolute must, but there are plenty of other situations where you’ll need to polish it up a little. Actually, it’s a smart move to clean up your bike after any ride through dirty or muddy conditions—since dirt or mud soaks up water and can lead to rust on your iron steed.
But cleaning a bike is not like cleaning a car; you can’t just run a soapy sponge over everything (and please, don’t try)! Here are a few of our best tips for keeping your motorcycle nice and neat (and not rusty):
Bike Placement
First of all, it’s vital to clean your bike on a paved surface with proper drainage. The last thing you want is for the ground underneath your bike to get muddy while you’re cleaning it, or for water to pool up around the underside.
In addition to having a surface that can drain the run-off, it’s also beneficial if you have shelter from direct sunlight. This will give you enough time to properly dry off the bike before evaporation kicks in and leaves water spots.
Cloth Type
Avoid rough brushes and sponges when cleaning a motorcycle. You want to make your bike shine, not show off a fuel tank with a bunch of scratches on it. Microfiber cloths are best for polishing your tank and any chromed surfaces—although you should also have some rags on hand for cleaning greasy areas like the forks, chain cover, and underside of the engine.
Soap Choice
You might be tempted to use regular dish detergent on your bike, but we don’t recommend it. Over time, the ingredients in many standard soaps and household cleaners can eat away at the paint on your ride. Fortunately, dedicated motorcycle cleaners exist, and they’re great at getting gunk off your baby without endangering the paint job.
Via Pexels.
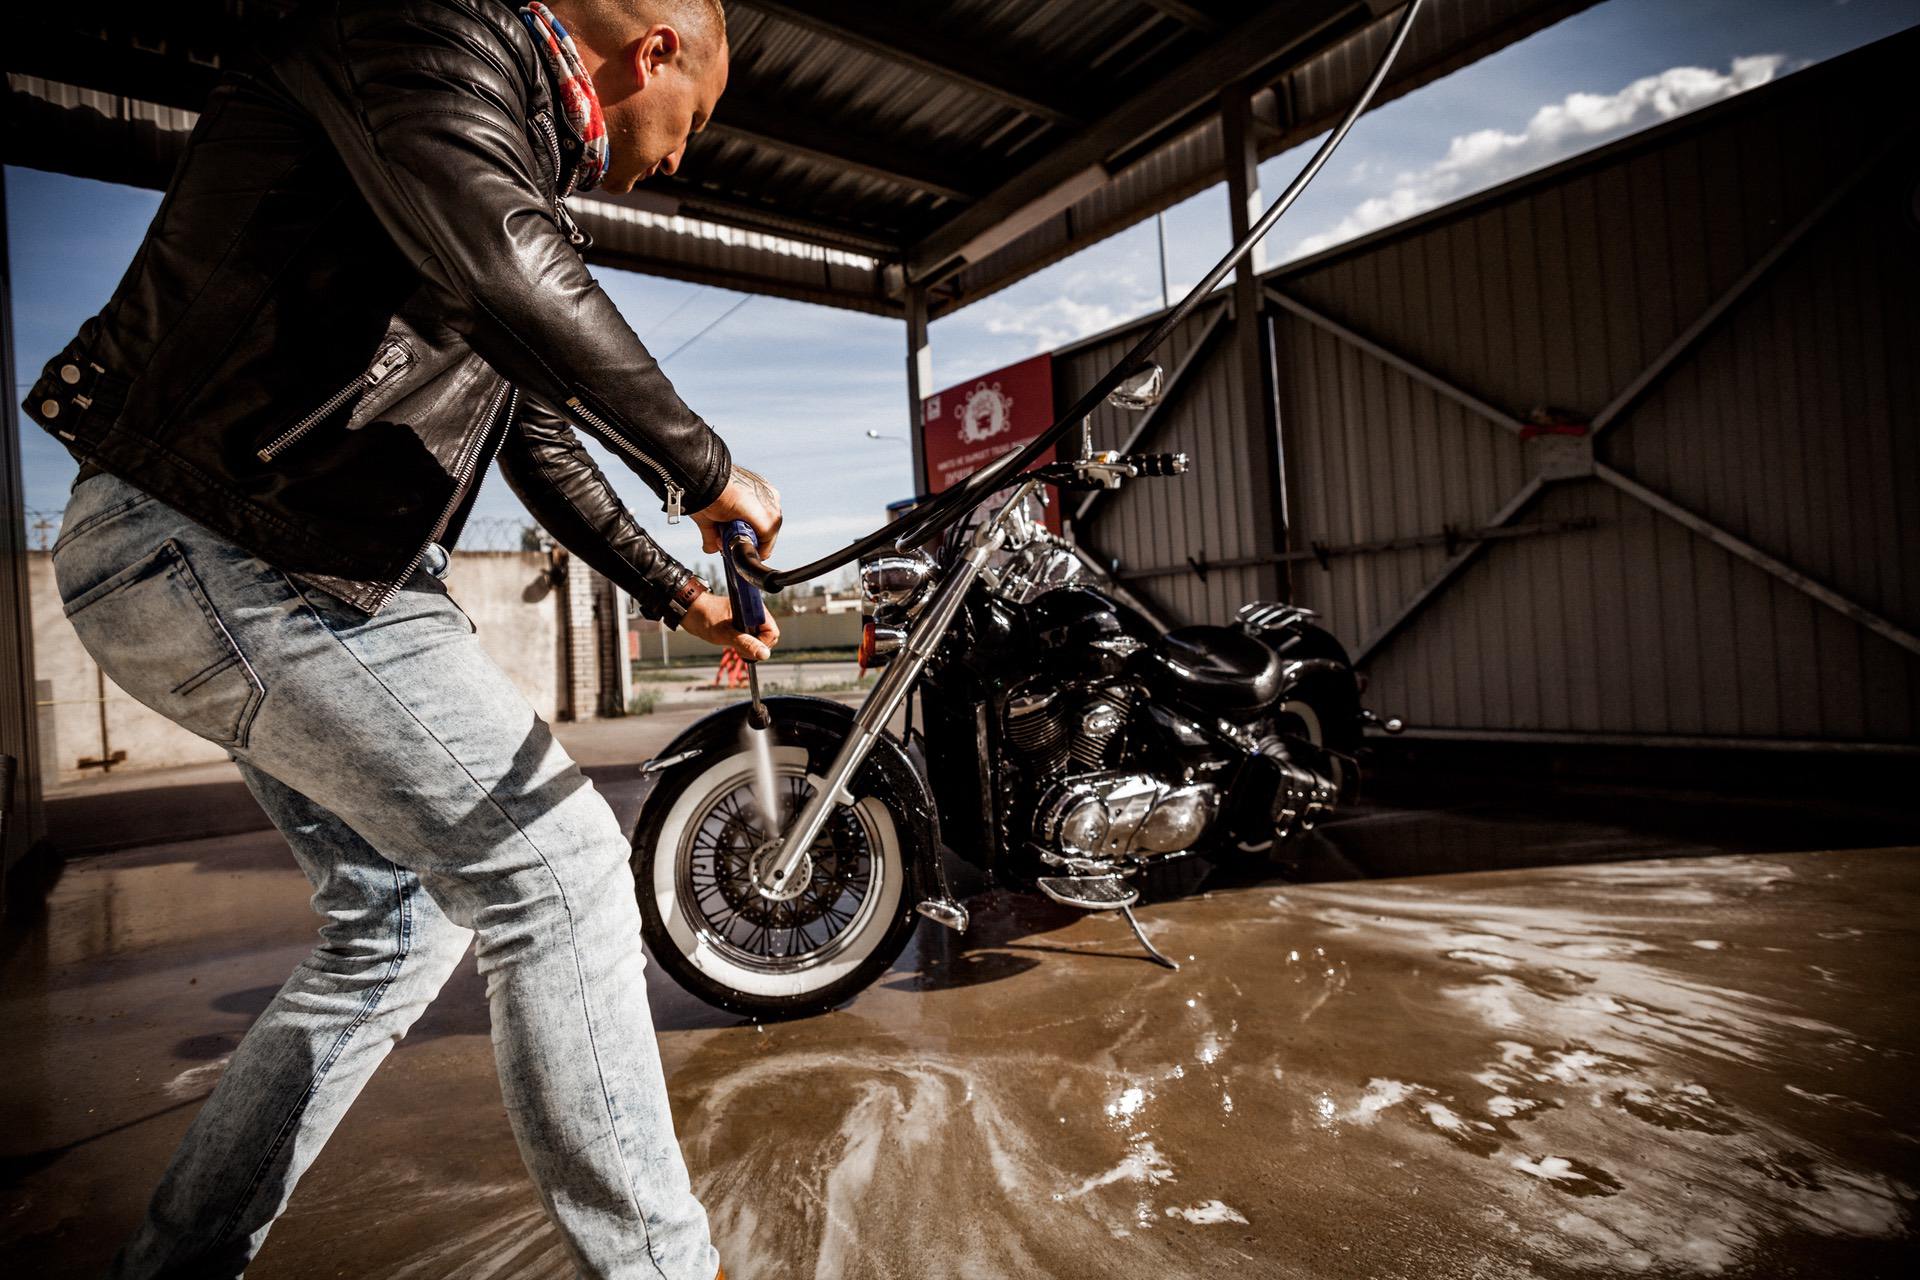
Washing Technique
Got a pressure washer at your place? Leave it alone. Same goes for garden sprayers. Your bike is a piece of precision machinery, and you need to treat it like one. You can’t just indiscriminately soak it, or you’ll risk damaging its exposed mechanical and electrical systems.
For best results, work your way down the bike slowly and deliberately, using cloths soaked in water and a proper motorcycle cleaning product. Use a toothbrush or other soft-bristled scrubber to get into cracks and crevasses (especially around the engine, where dirt and dust often goes overlooked). Then rinse it off gently with a hose afterward (if you must).
Via Unsplash.
Touching Up Your Motorcycle
Cleaning your bike is one thing, but touching up the paint job is another. If the paint on your bike is scratched, flaking, or otherwise damaged, you’ll want to be careful about fixing it.
In many cases, there’s no need to completely remove the existing coat of paint from your bike before making minor paint corrections. Just follow these easy steps:
Choose Suitable Paint
Not all paint is right for use on motorcycles. You’ll want to make absolutely sure you use specific, high-quality bike paints or buy a motorcycle bodywork paint kit (many appropriate products fall into both categories). These are acrylic aerosol paints that are meant to resist the elements without cracking or flaking easily.
Want to know more about the difference high-quality paint makes? Check out the video below:
Test Your Paint
Before you go crazy applying your new paint to your bike, make sure you’ve chosen the right shade by testing it on a small spot. We recommend choosing a part of your bike that won’t be obvious to passersby (like a wheel well) and using a precision brush (like an artist’s studio paintbrush).
Prep the Area
Just in case it’s not obvious, you should already have cleaned your bike before starting to touch up the paint job. Once that’s done, use 400 grit wet and dry sandpaper to carefully smooth out the scratched areas. The video below explains why this kind of sandpaper is best (and why you don’t need to fully strip the old paint off your tank before applying the new stuff):
Apply New Paint
Now it’s time to actually put the new paint on. Before you do, make sure to check the specific manufacturer’s instructions for your paint product. Some paints come ready-to-use, while others may require mixing beforehand.
You may also need to add a primer before starting, or a topcoat once the new paint is in place. For example, Arco Iris by Stardust Colors requires a topcoat, but any kind of automotive clearcoat will suffice. Finally, make sure you apply the exact number of coats recommended by your manufacturer.
Get Your Bike the Attention it Deserves
You want people looking at your motorcycle with approval, not apprehension. By following the suggestions above, it’s easy to spruce up your ride and make it one of the nicest-looking vehicles on any street you ride down.
Thoughts on anything we’ve said here? Leave us a comment below—and be sure to check out our article on great-looking motorcycle mods as well!